Make your own dehydrated meals to keep your backpack lighter (and your stomach full)
05/28/2020 / By Zoey Sky
Instead of pre-packaged dehydrated meals to bring on your camping trip, why not make your own dehydrated meals at home? After all, a DIY dehydrated meal contains ingredients that you’ve chosen yourself, so you can be sure that your food contains none of the toxic additives and preservatives found in store-bought products. (h/t to Learn.EarthEasy.com)
When you dehydrate your own meals for camping or hiking, you can prep food that is both light and delicious.
Why you should dehydrate your own meals
Moisture in fresh foods makes up about 60 to 90 percent of their weight. This moisture is the perfect environment for bacteria that can make food go bad.
To make dehydrated food that doesn’t affect flavor or texture, you need to process fresh foods at a temperature high enough to remove water but not high enough to cook your food.
Dehydration times vary depending on the weight, size and density of the food you’re preparing, along with the kind of dehydrator you’re using.
As you get used to dehydrating your own meals, you’ll learn how to balance all these factors. Using dehydrators with fans and temperature controls are better for drying different kinds of food evenly and quickly. These tools are also good at preserving the nutrients and flavor of your dehydrated meals. (Related: A guide to making dried food without a food dehydrator.)
You can preserve seasonal crops
When you’ve had a bountiful harvest and you end up with a surplus of fruits or vegetables, you can make dehydrated meals to use up your entire crop.
Even if you don’t have a garden, preparing meals when certain ingredients are in-season allows you to make the most of the nutritious foods at a cheaper price.
You use less packaging
DIY dehydrated meals can help eliminate the added waste and weight of pre-packaged meals. Using reusable food bags also helps eliminate the amount of waste you’ll leave behind after eating.
Additionally, vacuum sealing your food uses minimal materials. Storing dried meals using this method is best for meals you’re going to freeze, which will have a longer shelf life.
Before breaking the seal or putting food in your bag, let the foods reach room temperature and completely thaw to prevent condensation, which can cause food spoilage.
You can make healthier meals
Dehydrating your own meals eliminates the preservatives in store-bought foods. Most pre-packaged foods contain too much starch and not enough vegetables.
By making your own meals for backpacking, you can easily add nutritious ingredients in the quantities you want.
Dehydration times and methods
The time it takes, and the methods to use, for dehydration varies for different kinds of food.
Meat
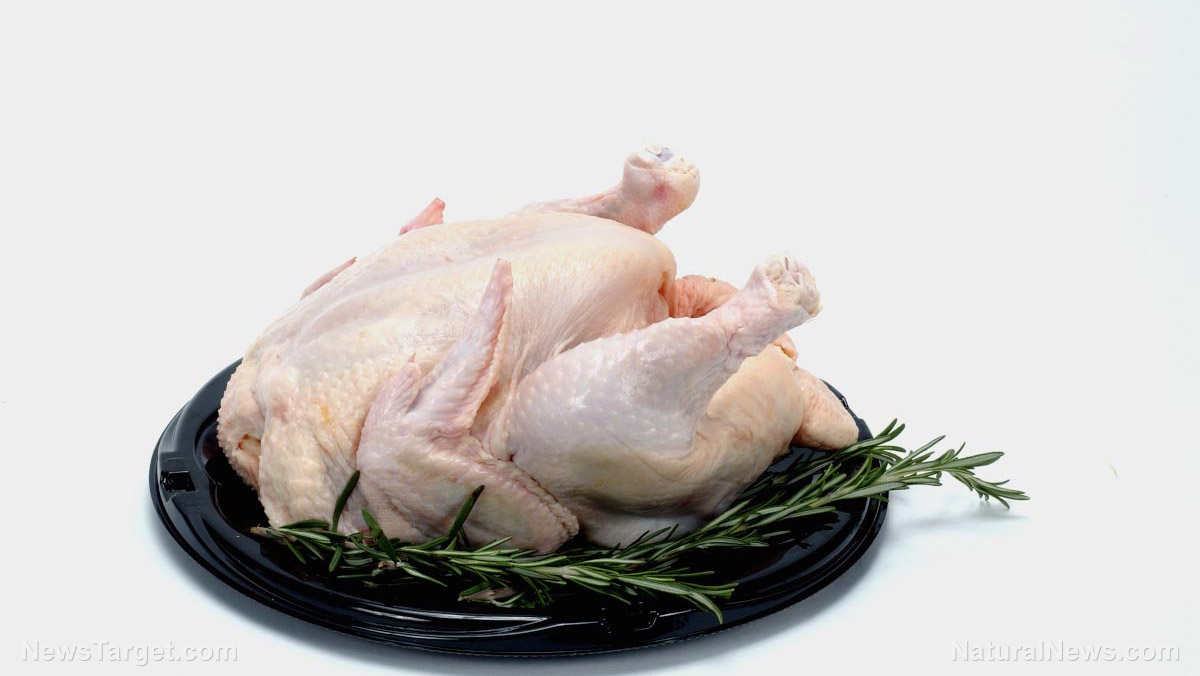
Precooked, hydrated meats are a filling addition to any meal. Meat is full of fat, calories and protein and it dries best at or above 145 F.
Reduce fat to prevent meat from spoiling: Trim away excess fat and blot meat after cooking. To help with rehydration, add half a cup of water for every pound of meat.
Fruit
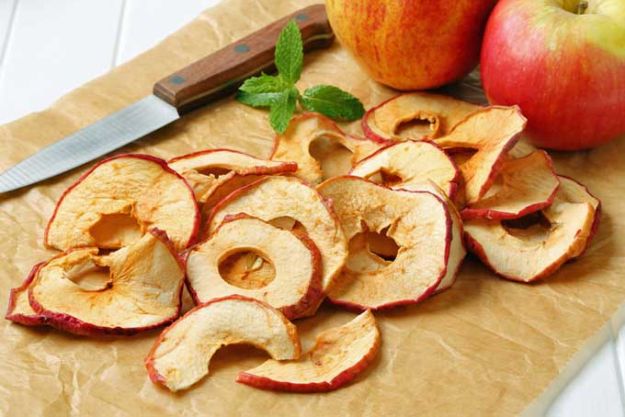
Fruit becomes leathery when dehydrated, with a texture similar to jerky. Slice your fruit about 1/8 inch thick, then arrange the slices in single layers. Set the temperature to 135 F.
You can reduce the drying time by setting the temperature to 145 F for the first two hours. Wait until the fruit slices are completely cooled before packing so they don’t stick together.
Rice
Instant rice tends to lack nutrients.
When making your own dehydrated meals, purchase whole grain rice and pasta, prepare as directed then dehydrate on your own. This helps reduce cook time and water use while providing you with a nutrient-rich meal.
Dry rice at 125 F until all moisture is gone. One cup of uncooked rice is equal to 3 1/2 cups cooked, or almost two cups of dried rice.
Vegetables
Veggies may feel very brittle when dry. For flavor-rich veggies, blanch or flash boil fresh vegetables or steam frozen veggies before dehydrating at 125-130 F.
Note that onions, mushrooms and tomatoes don’t need to be blanched. Instead, chop and place them in the dehydrator without other preparation.
Don’t use lima beans, which often rehydrate very slowly.
Unstuffed peppers recipe
This recipe makes a delicious filling, minus the fresh, whole peppers you’d use while cooking at home.
Ingredients:
- 3/4 cup dried rice
- 1/3 cup dried bell peppers
- 1/3 cup dried ground beef
- 1/3 cup dried spinach or other greens
- 1/3 cup tomato sauce puck
Rehydrate the ingredients with two cups of boiling water. Set the mixture aside for 15 minutes or until the ingredients are fully dehydrated.
Save money and make nutritious meals by prepping your own dehydrated backpacking snacks.
Sources include:
Tagged Under: backpacking food, dehydrated food, DIY, dried food, food drying, food supply, hiking, how-to, off grid, preparedness, prepping, self sufficiency, SHTF, storable food, survival, survival skills
Get independent news alerts on natural cures, food lab tests, cannabis medicine, science, robotics, drones, privacy and more from NewsTarget.com
Get independent news alerts on natural cures, food lab tests, cannabis medicine, science, robotics, drones, privacy and more from NewsTarget.com
RECENT NEWS & ARTICLES
COPYRIGHT © 2017 · SURVIVAL NEWS

