Conceal your raging campfire with the ancient Dakota fire hole technique
02/24/2018 / By Zoey Sky
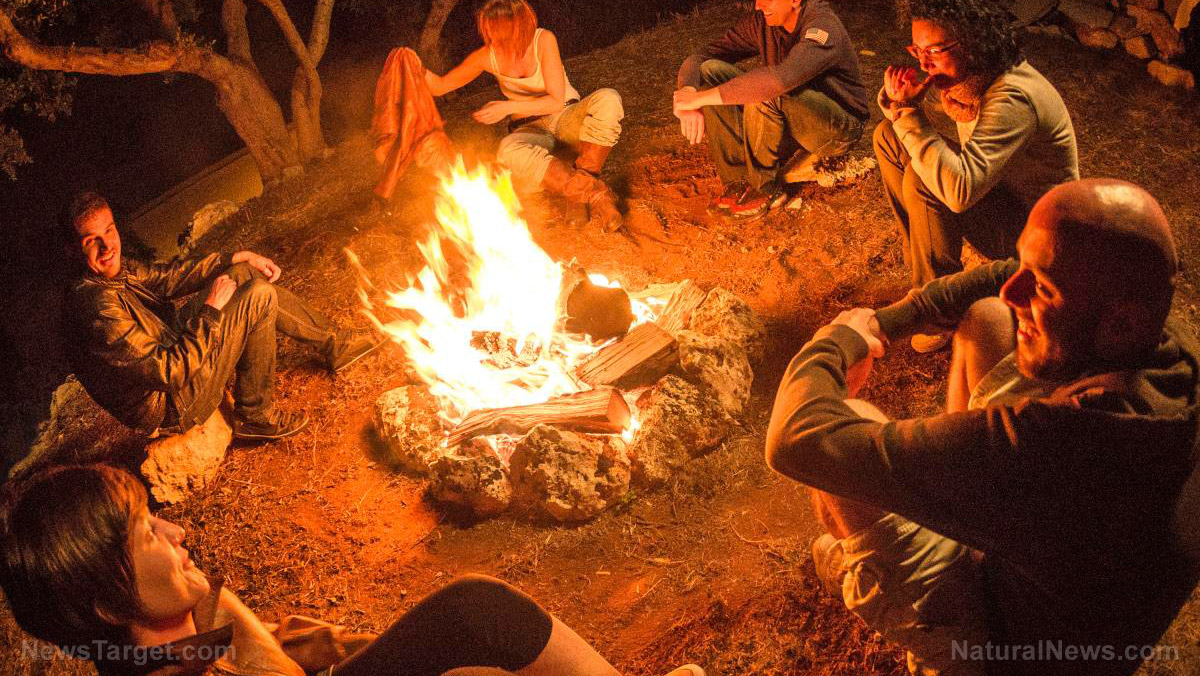
Aside from being an enjoyable outdoor activity, camping is also one way to practice your survival skills for when SHTF. And if you want to build a clean-burning campfire, you can try the Dakota fire hole technique. (h/t to WildernessCollege.com)
The Dakota fire hole is an old technique used to build “efficient, clean-burning, and easily concealable fires.” While no one can say for sure who came up with the method, the basic concept for the Dakota fire hole is the same in different locations all over the world.
The Dakota fire hole requires a 12 to 16-inch deep hole, and it must be wide enough to contain a small fire tipi. You must then dig a sloping tunnel that connects the base of the pit to the surface.
Once you build a fire in the hole you dug, this will heat the air around it. The hot air rises from the hole, and this creates a weak vacuum that draws more cool air through the sloping tunnel. This feedback loop will help build “an extremely hot fire in a short amount of time.” (Related: Camping: A great way to practice how to live after SHTF.)
Why build a Dakota fire hole?
Here are several reasons why you should build a Dakota fire hole:
- Unlike a regular fire, a Dakota fire hole will burn at a very high temperature because of the air intake system. A fire burning at a high temperature will efficiently convert fuel into heat.
- It’s easy to cook over. You can barbecue some meat over a grill or over some wood placed above the fire hole.
- The fire is harder to spot from a distance since the flames are confined below ground level. A Dakota fire pit will produce very little smoke.
- It burns even in very windy conditions. The air hole will be more efficient, and the flames will be protected from extreme gusts.
Sponsored solution from the Health Ranger Store: The Big Berkey water filter removes almost 100% of all contaminants using only the power of gravity (no electricity needed, works completely off-grid). Widely consider the ultimate "survival" water filter, the Big Berkey is made of stainless steel and has been laboratory verified for high-efficiency removal of heavy metals by CWC Labs, with tests personally conducted by Mike Adams. Explore more here.
But despite these advantages, one downside of the Dakota fire hole is the amount of energy it will require. When you’re in a time sensitive survival scenario, you might not have enough time to dig the required holes for a Dakota fire hole. But don’t dismiss this technique because it might prove useful for long-term survival or a primitive camping situation.
To make things easier for yourself, choose a site that doesn’t have too many rocks or roots. This will ensure that you don’t need to spend too much time and effort digging.
Avoid areas with a water table that is too close to the surface. The best area to dig would have dry and compact soil. If the soil is too loose, the hole won’t have structural integrity. If it’s too compact, you’ll have a hard time digging the hole.
Another advantage of a Dakota fire hole is that it requires less wood to burn than a regular fire. This might just save your life, especially if you’re in an area where there’s not much firewood. This also minimizes the damage that you will inflict on the landscape.
Once you’re done with the fire, you can easily hide your presence by covering it with the soil you dug from the hole. Don’t forget to fully extinguish the fire before you leave the area.
Learn how to build a Dakota fire pit so you have one surefire way of building a clean-burning fire, which is an excellent technique to add to your arsenal of survival skills.
How to safely put out a campfire
Before you leave a Dakota fire pit, follow the guide below to safely put out the fire:
- Let the wood burn down to ash.
- Put water over the ashes. Make sure the whole thing is covered in water.
- Keep pouring water over the remnants of the campfire until you stop hearing a hissing sound.
- Check for burning embers. The embers should be cold to the touch.
- Check the sticks for embers.
- Churn the area where you built the fire with your shovel. Mix some dirt in it.
- Once the whole thing is cold to the touch and there aren’t any embers left, you can leave the fire hole.
You can read more articles about other techniques to build and conceal fires at Preparedness.news.
Sources include:
Tagged Under: campfires, camping, clean burning fires, Dakota fire hole, fire pit, outdoors, preparedness, prepper, prepping, survival, survival skills, wilderness

