Identifying and splinting bone fractures in a survival situation
02/14/2018 / By Rhonda Johansson
The chances of you getting injured during an emergency are high, especially if everyone around you is panicking. During times like this, it is important that you keep a cool head and assess your situation carefully. People running around, pushing, and screaming can cause you to fall down and injure your arm or leg. Similarly, you may be alone in the wilderness and trip over a rock. These situations require you to know basic first aid so that you are able to treat the injury until you can find professional help. (Always seek qualified medical help where available. The following how-to information assumes you need immediate treatment before help arrives, or where help is not available…)
Before anything, you have to determine if you have a fracture or just a bruise. Typically a broken bone will have pain, swelling, and sometimes even a level of deformity. Some fractures are more difficult to see, especially if nothing seems out of place. However, you will normally hear or feel a snap or a grinding noise as you become injured. The injured area will also be tender to the touch and will hurt when any sort of weight or pressure is put on it or attached to it. In more severe cases, broken bones can poke through the skin.
It is important that you set the bone as soon as you can. Complications can occur if you don’t, including damaged blood vessels or nerves in the long run. There are some survivalists who suggest splinting the bone without traction; meaning that the bone will be set in the position it was found in. This does not make sense though. Medical doctors highly recommend placing the bone in its anatomically correct position so that the healing process is faster. This would also lessen the risk of further injury.
Mother Nature's micronutrient secret: Organic Broccoli Sprout Capsules now available, delivering 280mg of high-density nutrition, including the extraordinary "sulforaphane" and "glucosinolate" nutrients found only in cruciferous healing foods. Every lot laboratory tested. See availability here.
In an emergency situation, you need to splint broken bones well enough so that the person can walk to the nearest medical facility. For fractured legs, find two forked branches that are at least two inches in diameter. One should measure from your armpit to 12 inches past the broken leg, whereas the other should measure from the groin to 12 inches past the broken leg. Pad the splints. The ends that exceed the leg should have another two-inch diameter stick in between them (at the bottom) to help hold them in place. Tie the two splints together with whatever you can find. Tie another wrap around the ankle and twist it around until it is in line with the healthy leg. This will act like crutches, fixed in place, allowing the person to move while stabilizing the leg.
Splinting a foot is easier. You would just need a tough cardboard or plastic. This material should be bent lengthwise so that you have three identical segments. Insert the injured foot into the cover while adding cloth or padding inside. Secure this with some tape. Find a walking stick to help the victim keep pressure off the injured appendage.
A broken arm or hand would need to be similarly splinted. For a broken arm, wrap the arm in cloth before applying the splint. The length of the splints will depend on where the fracture is. For forearm fractures, the splints should go beyond the wrist. Upper arm fractures, on the other hand, would require splints that extend beyond the elbow. Secure the splints tightly with cloth and then use a sling to prevent further injury.
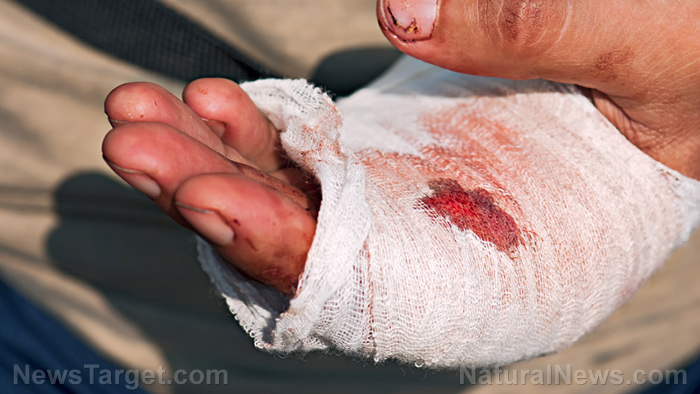
A broken hand is slightly trickier. You would need a material that is both strong enough to secure the hand while being flexible enough to fold. Once you find a suitable material, lay the hand flat on a surface with the fingers slightly opened. Place some cloth in the palm of the hand and place the first splint under the wrist. This should extend to the end of the fingers. The splint should also be folded up and around the wrist. Tie the splints with tape. Stuff the open spaces with cloth for added padding.
One thing we’d recommend is to have a basic knowledge of anatomy and learning a few knots in order to keep your splints in place. Practice these at home so that if ever the SHTF, you know how to take care of yourself. (Related: Basic first-aid every prepper, survivalist, and camper should know.)
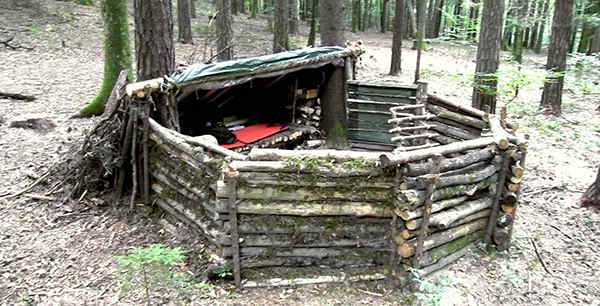
It’s never too early to learn how to live off the grid. For more articles like this, visit Preparedness.news.
Sources include:
Tagged Under: bone fracture, broken bone, emergency medicine, first aid, off grid, preparedness, SHTF, survival